I was tasked with choosing a kit from Northern Brewer's catalog and, after some discussion with my Brewmaster, settled on a Honey Brown Ale. Northern Brewer describes the ale as follows:
"What would happen if you augmented the slightly dry, caramelly and roasty character of a smooth, mellow English brown ale with the sweet floral flavor of clover honey? What if you added the honey at the very last possible minute to maximize its presence in the finished beer? What if it was delicious?"
Truthfully, they had me at the word "honey" in the name alone.
The cast of characters arrived nicely packaged and ready to be put to work:
 The cast of characters
 Brewmaster Steve
We let this steep approximately 20 minutes, or until the water reached 170 degrees Fahrenheit. After removing the tea bag, we brought the mixture to a boil and then added the 6 lbs of Gold malt syrup. At this point the mixture is now called "wort" and looks something like this:
 Now we're cookin'
 Beer in hand; showering optional
Next was the addition of 1 oz cluster hops. We then returned the wort to a boil, boiled for 60 minutes and finally added the 1 lb (yes, one whole pound!) honey. The next step involves cooling the wort as quickly as possible to approximately 100 degrees Fahrenheit. Since we of the Garvin clan do not own a fancy wort chiller, we opted for the old-fashioned method of an ice bath:
 Ice, ice baby
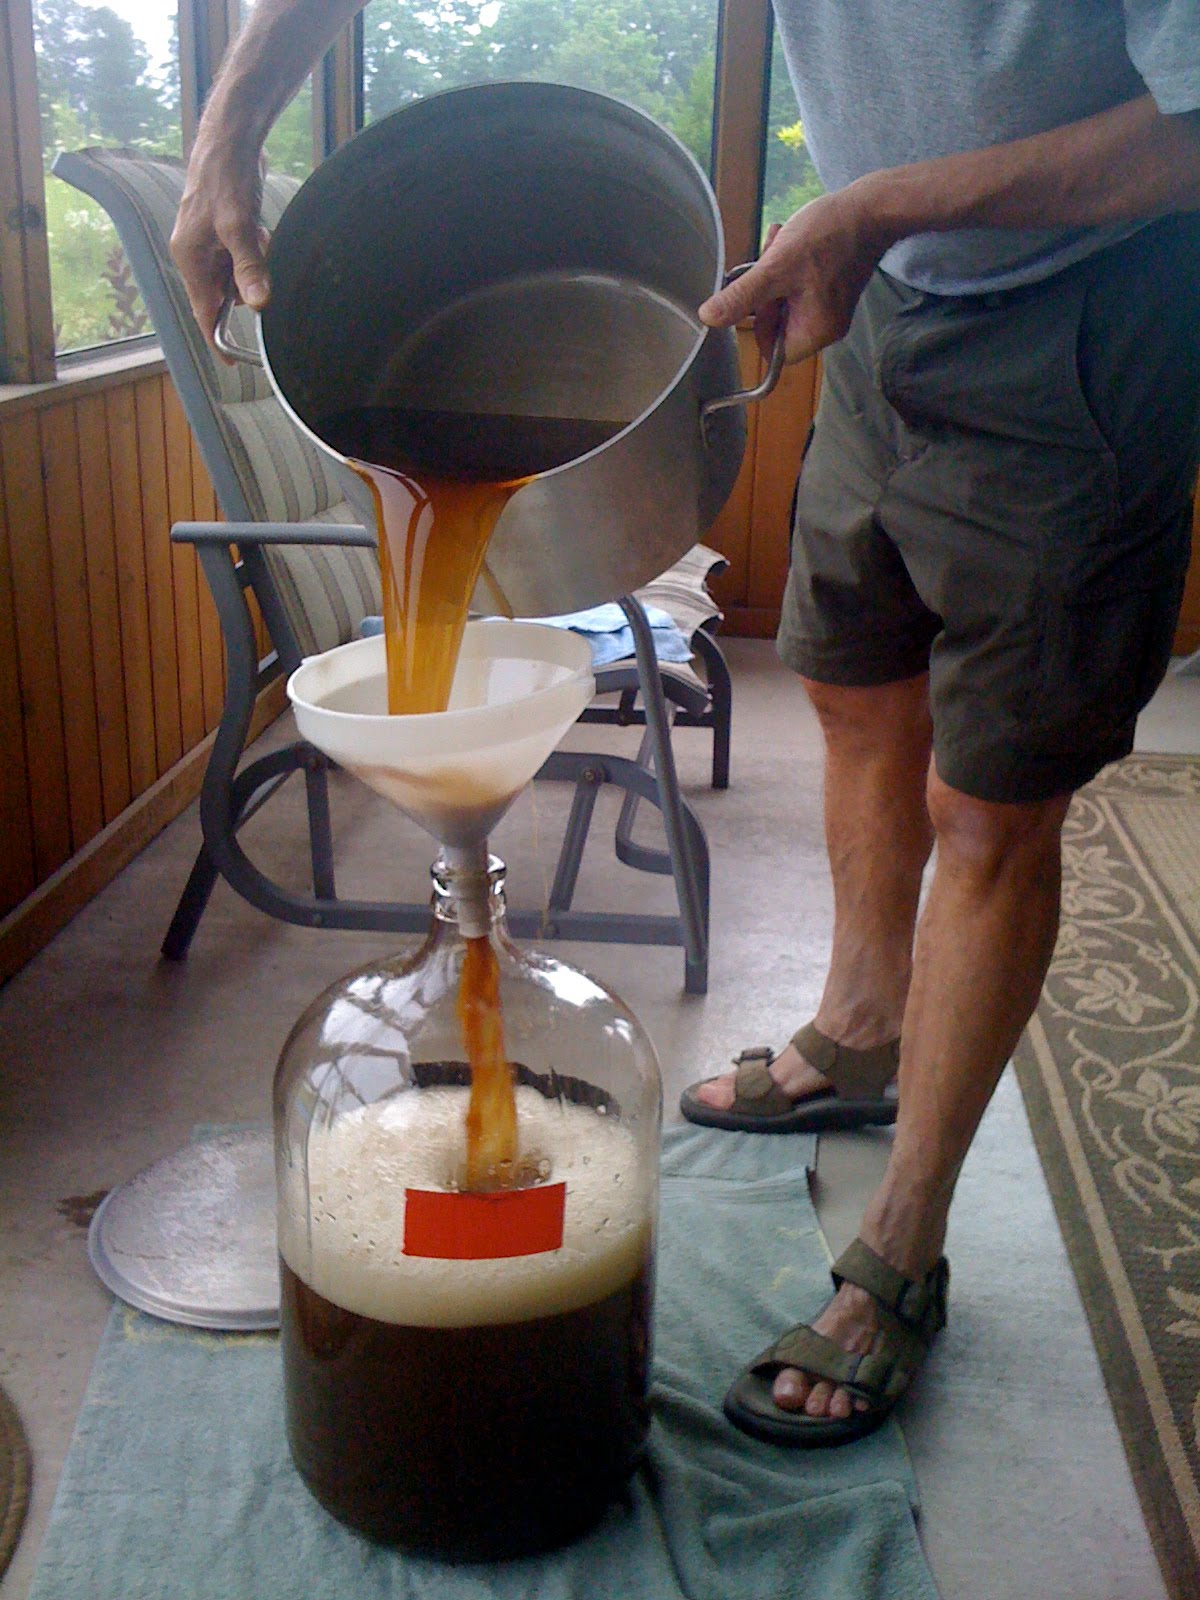 Hold the sludge, please
 Brewmistress (brewgirl? brewdaughter?) adding yeast pack
Once the yeast is added, the fermenter is sealed using a rubber stopper and then placed in a quiet, warm, dark spot to allow fermentation to begin:
 Nighty-night, my love
Active fermentation should have ended approximately 2 weeks after brewing day and, at this time, Brewmaster Steve transferred the beer into a secondary fermenter where it now will continue to do it's thing until bottled in another 2 - 4 weeks. The bottles will then need to condition for 1 - 2 weeks before those puppies can be chilled and enjoyed.
I have to say this day of brewing with my Dad was definitely a highlight of my trip home this summer. As much as I'm looking forward to cracking open one of our Honey Nut Brown ales, the true enjoyment came from spending the day brewing with Brewmaster Steve. Thanks, Dad!
I have to say this day of brewing with my Dad was definitely a highlight of my trip home this summer. As much as I'm looking forward to cracking open one of our Honey Nut Brown ales, the true enjoyment came from spending the day brewing with Brewmaster Steve. Thanks, Dad!
Looks like the two of you had a good time. Great Father-daughter time.
ReplyDelete